A spark plug can look brand new and still be out of calibration. Even a fresh plug can leave the box with an incorrect electrode gap, and a used plug's gap drifts wider as the electrodes erode. If you are wondering how to calibrate a spark plug, the answer is not a timing adjustment; it is a three-step mechanical check. Set the gap to the engine specification, confirm the heat range matches the engine's operating condition, and tighten the plug to the rated torque. When all three are right, the plug delivers consistent ignition, clean combustion, and the service life the engineer designed. When one is wrong, you get misfires, fouling, or overheating.
Content
"Calibrate" sounds technical, but a spark plug has no adjustment screw. The calibration targets are fixed by the engine designer, and your job is to measure and match them:
A plug that is the correct type but has the wrong gap behaves like the wrong part entirely. Our engineering note on how the spark plug gap affects engine ignition explains why a difference of 0.1 mm changes the required ignition voltage noticeably. At our factory, we treat these three values as process-controlled checkpoints, not optional adjustments.
Calibration takes about five minutes per plug. The tools are simple, and the most important item is the specification itself.
Typical modern engine gaps range from 0.7 mm to 1.5 mm (0.028–0.060 in). If the specification is missing, do not guess; a gap set 0.2 mm too wide can cause a misfire at full throttle on a hot day.
The rule that protects every plug is simple: bend only the ground electrode, never the center electrode. The center electrode runs through the ceramic insulator; any force applied to it can crack the insulator invisibly and kill the plug later. The ground electrode is a steel strap welded to the shell, and it is designed to be adjusted.
The same procedure applies to every plug family we manufacture: automotive, marine, motorcycle, garden, industrial, and aircraft-model plugs all follow the same bending rule. If your engine uses a 14 mm copper-core automotive plug, the card below links to the matching catalog model.
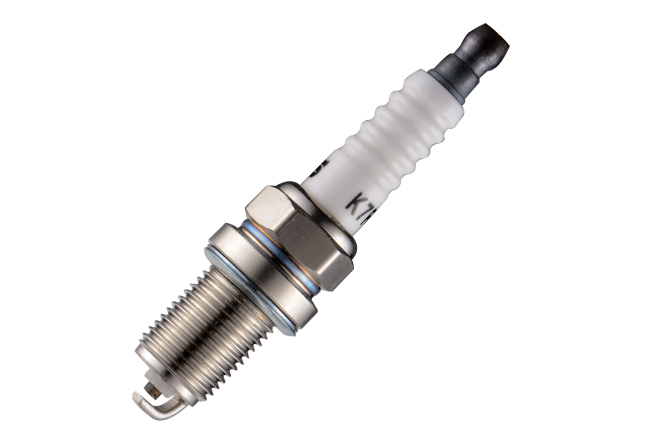 16mm Hex Copper-Core Automotive Spark Plug K7RTCThis 14mm thread, 16mm hex copper-core plug suits engines needing a standard nickel ground electrode. Its heat range is key for correct calibration and long service life.View Product →
Heat range is part of calibration because it decides the temperature at the electrode tip during normal operation. A plug with the correct gap but the wrong heat range will still fail early.
| Firing end appearance | Condition | Result |
|---|---|---|
| Black, dry soot | Plug too cold, or air-fuel mixture too rich | Misfire at idle, hard starting, wasted fuel |
| Light tan or gray tip | Correct heat range and mixture | Clean combustion, normal service life |
| White or blistered insulator | Plug too hot, or mixture too lean | Pre-ignition, electrode damage, engine knocking |
A "hot" plug has a longer insulator nose and holds more heat; a "cold" plug has a shorter nose and transfers heat quickly to the shell. Vehicles that spend time in stop-and-go traffic generally favor a slightly hotter plug, while sustained high-load operation favors a colder one. Use the heat rating recommended for your engine model, not the one that fits the thread.
Gap calibration does not end at installation. Every spark event erodes a tiny amount of metal from both electrodes, and the erosion rate is controlled by the tip material. Copper-core nickel plugs wear fastest; platinum slows the process; iridium resists erosion longest. In relative terms, the wear rates look like this:
This is why precious-metal plugs keep their gap longer and why the service interval for an iridium plug can be two to three times that of a nickel plug. When you calibrate an iridium or platinum plug, tool choice matters: a coin-type gauge can scrape the laser-welded tip, so use a wire-type gauge and bend the ground strap gently from the base. If your engine calls for an iridium-tip design, the card below links to the matching catalog model.
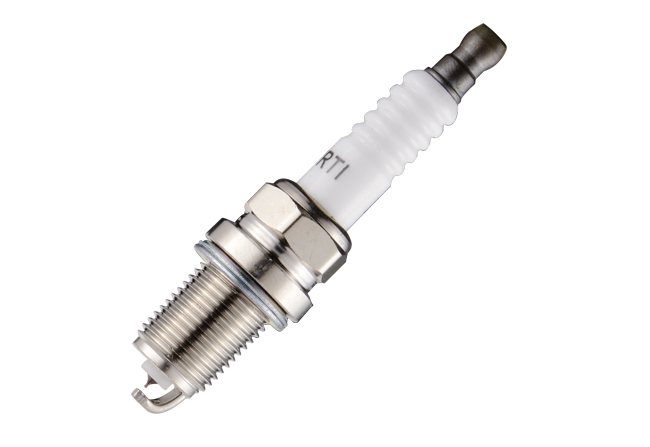 16mm Hex Iridium-Tipped Automotive Spark Plug K7RTIIridium tip and 5kΩ resistor help keep the gap stable for extended intervals. A flat seat and 0.8mm pre-gap make this a precise choice for engines calling for iridium design.View Product →
The torque value is as much a calibration number as the gap. Under-tightened plugs cannot transfer heat into the cylinder head, so the plug runs hot and can loosen from vibration. Over-tightened plugs squash the sealing washer, distort the shell, and can crack the ceramic insulator at the moment of tightening or during thermal cycling. Aluminum heads will strip threads quickly at excessive torque.
| Thread diameter | Cast iron head (Nm) | Aluminum head (Nm) |
|---|---|---|
| 10 mm | 14–21 | 10–14 |
| 12 mm | 21–28 | 14–21 |
| 14 mm | 28–34 | 22–29 |
| 18 mm | 34–41 | 23–30 |
Always tighten against a cold engine or follow the manufacturer's instruction for the specific cylinder head. If the plug has a tapered seat, apply about one-sixteenth to one-eighth turn after initial contact instead of using a torque value from a flat-seat chart.
After a plug is calibrated and installed, the gap does not stay constant. Erosion at the electrode corners widens the gap over miles. On a typical copper-core nickel plug, the gap grows by roughly 0.025–0.05 mm per 16,000 km (0.001–0.002 in per 10,000 miles).
At 40,000 miles, the gap on that plug has grown roughly 35% above the original setting. The ignition system compensates for a while by delivering more voltage, until the day it cannot, and the engine misfires under load. Adding a gap check to every service interval is cheaper than replacing a coil pack.
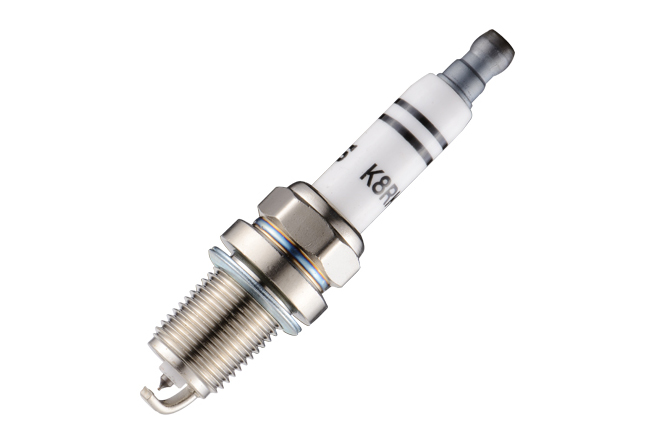
The firing end of a used plug is a data recorder. After a plug has run for a few thousand kilometers, its appearance tells you whether the gap and heat range still match the engine. The structure that matters is simple:
In our laboratory, these appearances are classified according to 17 international and national spark plug test standards, and the same evaluation is simple enough for any driver to do at home. If the appearance is ambiguous, measure the gap; the number will usually tell the story.
Replacing a spark plug is not finished when the thread is seated. The gap must be right, the heat range must match, and the torque must be within range. Those three numbers, checked at every service interval, prevent most ignition-related failures before they start.
We build plugs for automotive, marine, motorcycle, garden, industrial, and aircraft-model engines, and the calibration rule is identical across all of them. If you are servicing a two-wheeler or a small marine engine, the card below links to the matching F6TC replacement model.
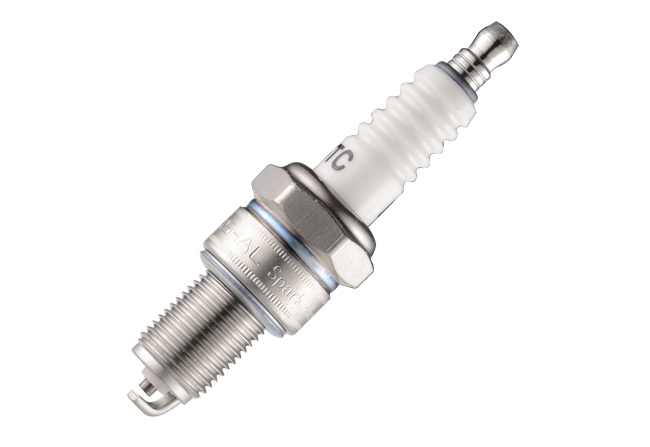 20.8mm Hex Motorcycle Spark Plug F6TC with Copper CoreBuilt with a copper core and nickel ground electrode for reliable small-engine operation. Common in motorcycles and marine use, it offers straightforward replacement and calibration.View Product →
For the complete application list, browse the spark plug range on our site; when a specification is unclear, our engineering team is one message away.
A gap that is too small produces a weak spark that misfires at high rpm, while a gap that is too wide demands higher ignition voltage and causes hard starting, misfire under load, and wasted fuel.
Always measure new plugs before installation. Gaps can shift during transport and storage. Precious-metal plugs should be checked with a wire-type gauge and adjusted only on the ground electrode.
No. The center electrode runs through the ceramic insulator, and bending it can cause invisible cracks that lead to misfire or plug failure. Adjust only the ground (side) electrode.
The value is printed in the service manual or on the emissions label under the hood. Typical modern gaps range from 0.7 mm to 1.5 mm. When in doubt, consult the plug manufacturer's application chart.
Check the firing end after a clean run: heavy black soot means too cold, while a white blistered insulator means too hot. Match the heat range to the engine's normal load condition.
Yes. An out-of-spec gap weakens ignition, slows combustion, and wastes fuel. Restoring the correct gap and heat range typically improves idle stability, throttle response, and fuel efficiency.
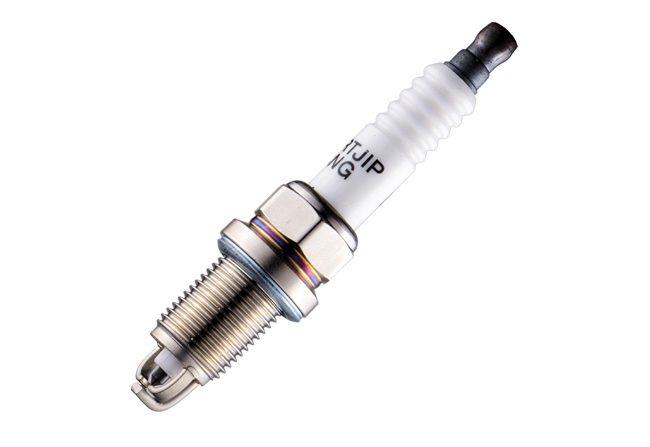
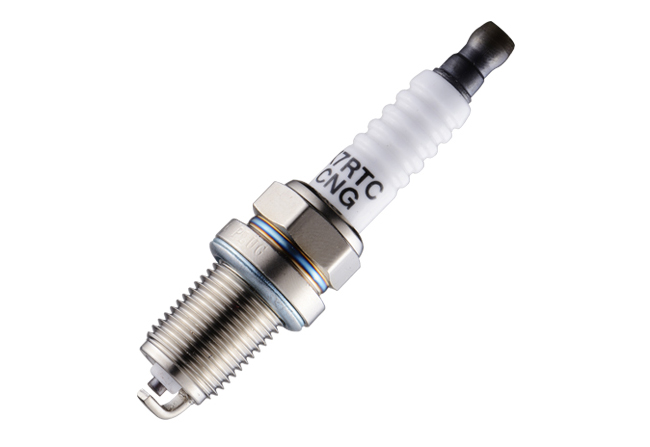
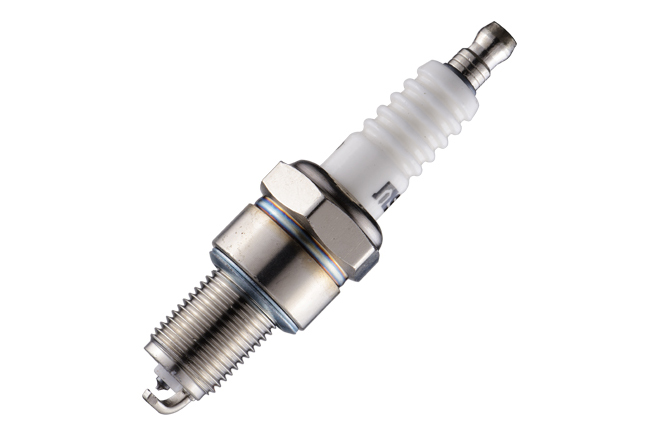
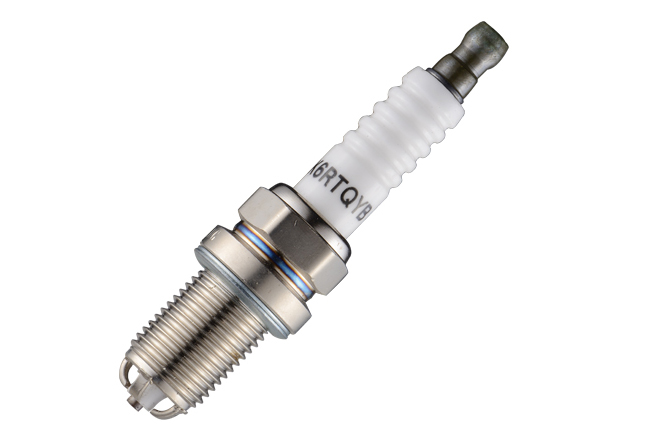
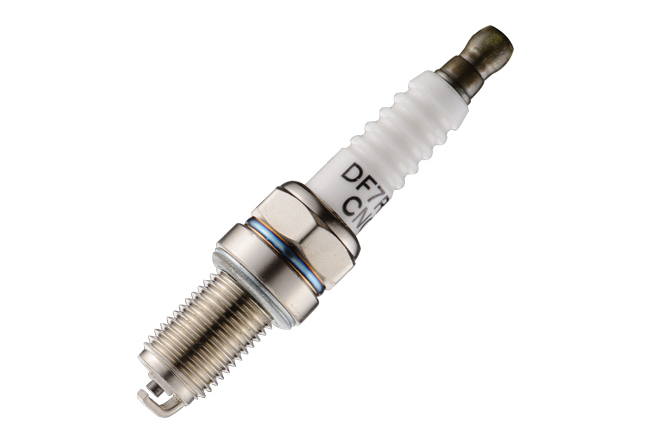

NINGBO MARSHAL AUTO PARTS CO., LTD. is a research and development, production and sales of professional manufacturers of spark plugs. Our company's spark plugs are mainly used in gasoline, natural gas and liquefied petroleum gas as fuel for all types of automobiles.
COPYRIGHT NINGBO MARSHAL AUTO PARTS CO., LTD. ALL RIGHTS RESERVED. Custom Spark Plugs Manufacturers OEM Spark Plugs Suppliers


 English
 中文简体
中文简体